How to Make Paper Clay
Materials & Tools

- about 10 pieces of scrap paper ripped into small pieces
- about 1/2 cup of flour
- about 1/4 cup of salt
- water
- blender
- strainer and/or cloth
Instructions
1. Blend Paper & Water
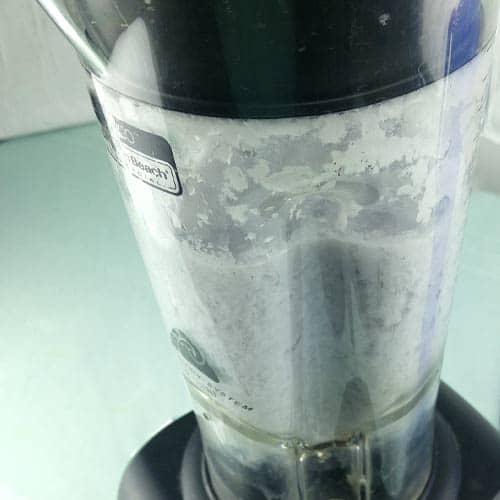
Add used scrape paper ripped into small pieces to a blender and mix until a consistent slush forms. Blending paper can be hard on a blender so make sure the paper is ripped into small pieces, that there is adequate water, and that you do not overload the blender.
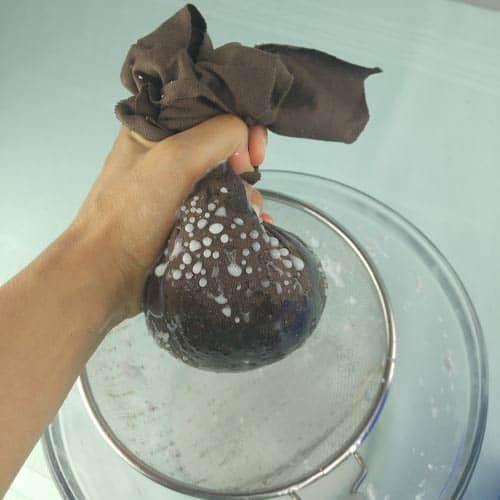
2. Strain

Use strainer or cloth to remove most of the water from the paper. You still want a mushy mixture at this point You will be able to adjust the mixture in the final step if it is too wet or dry to mold.
3. Add Flour & Salt
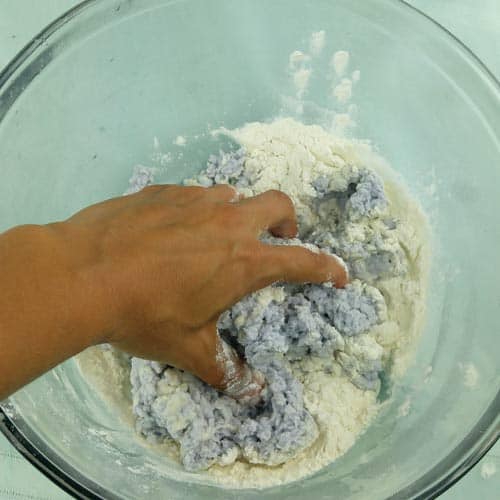
Add flour and salt to the mixture. The salt is used to ensure no mould or bacteria grow during the drying process and the flour makes the mixture easier to form into shapes.
Add more flour if you want it to be more sticky. Add more water if it feels too dry and squeeze out excess water if it is too wet.
It is worth mentioning that the paper clay can be successfully used without any flour but the flour makes it stick better making it easier for kids to work with.
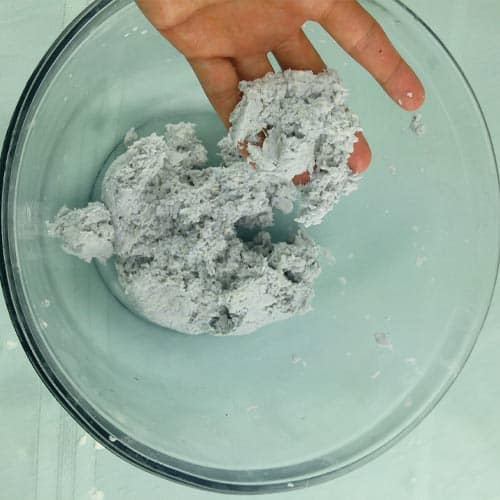
4. Shape Paper Clay
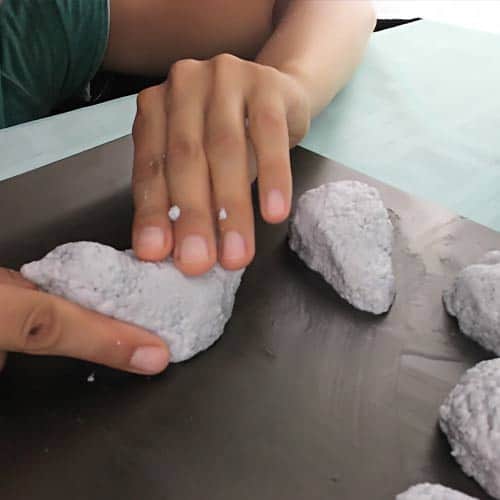
Paper clay can be shaped just like any other clay but it has a bit of a crumbly texture (although less so if you add extra flour) making it hard to make very detailed shapes.
It takes a fairly long time to dry making shapes that are very thick undesirable. Consider using some sort of form or filler for large pieces.
Once dried it can be shaped much like wood so details can be added if desired by sanding or carving.
5. Dry
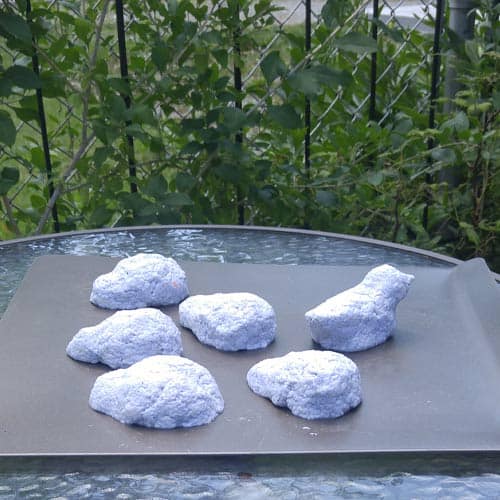
Paper clay can be dried in the oven or in the sun with drying times depending on the thickness of your sculptures.
Drying in the oven should be done on the lowest setting and will take anywhere from a few hours to an entire day. Drying outdoors works best in full sun and can take anywhere from a day to a few days. I often start the drying process in the oven and finish in the sun.